Enabling a custom logical model
The first step to customizing how Insight Advisor interprets your data is enabling the business logic logical model.
Once enabled, Qlik Sense creates a logical model for business logic based on your data model. You can then start customizing this logical model.
Do the following:
-
In the tutorial app, open the app navigation menu.
-
Under Business logic, select Logical model.
-
Click Continue.
Results
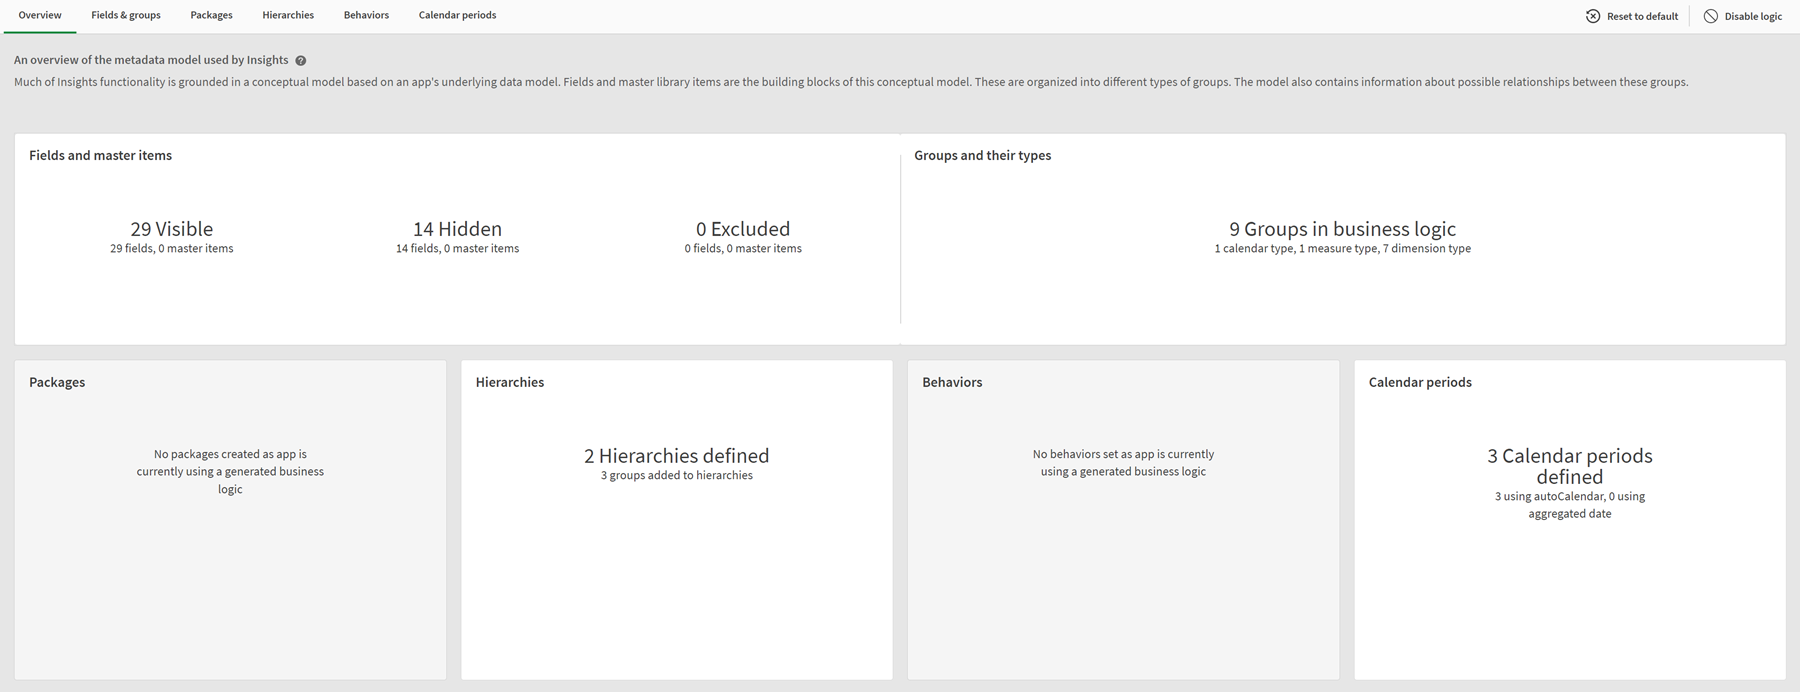
Business logic analyzes your data model and automatically creates groups, hierarchies, and behaviors. Overview provides a look at your new logical model.
The new logical model in Overview

Qlik Sense has hidden 14 fields from analysis, so they are no longer available in Insight Advisor. 9 groups have been created from the data model, associating related fields together. 2 hierarchies have been defined, linking groups for drill-down analysis. 3 calendar periods have been defined, providing periods of time for use in analyses.
Next, you will edit this default logical model, starting by modifying the default fields and groups.
